TEDxVienna is one of the top TEDx events in the world, with over 20,000,000 views on youtube. I’m proud to have been a team leader for 4 of the 10 years it’s been operating. In 2016, as head of the TEDxVienna creative team, I was tasked with producing a new sign. This is what I learned.

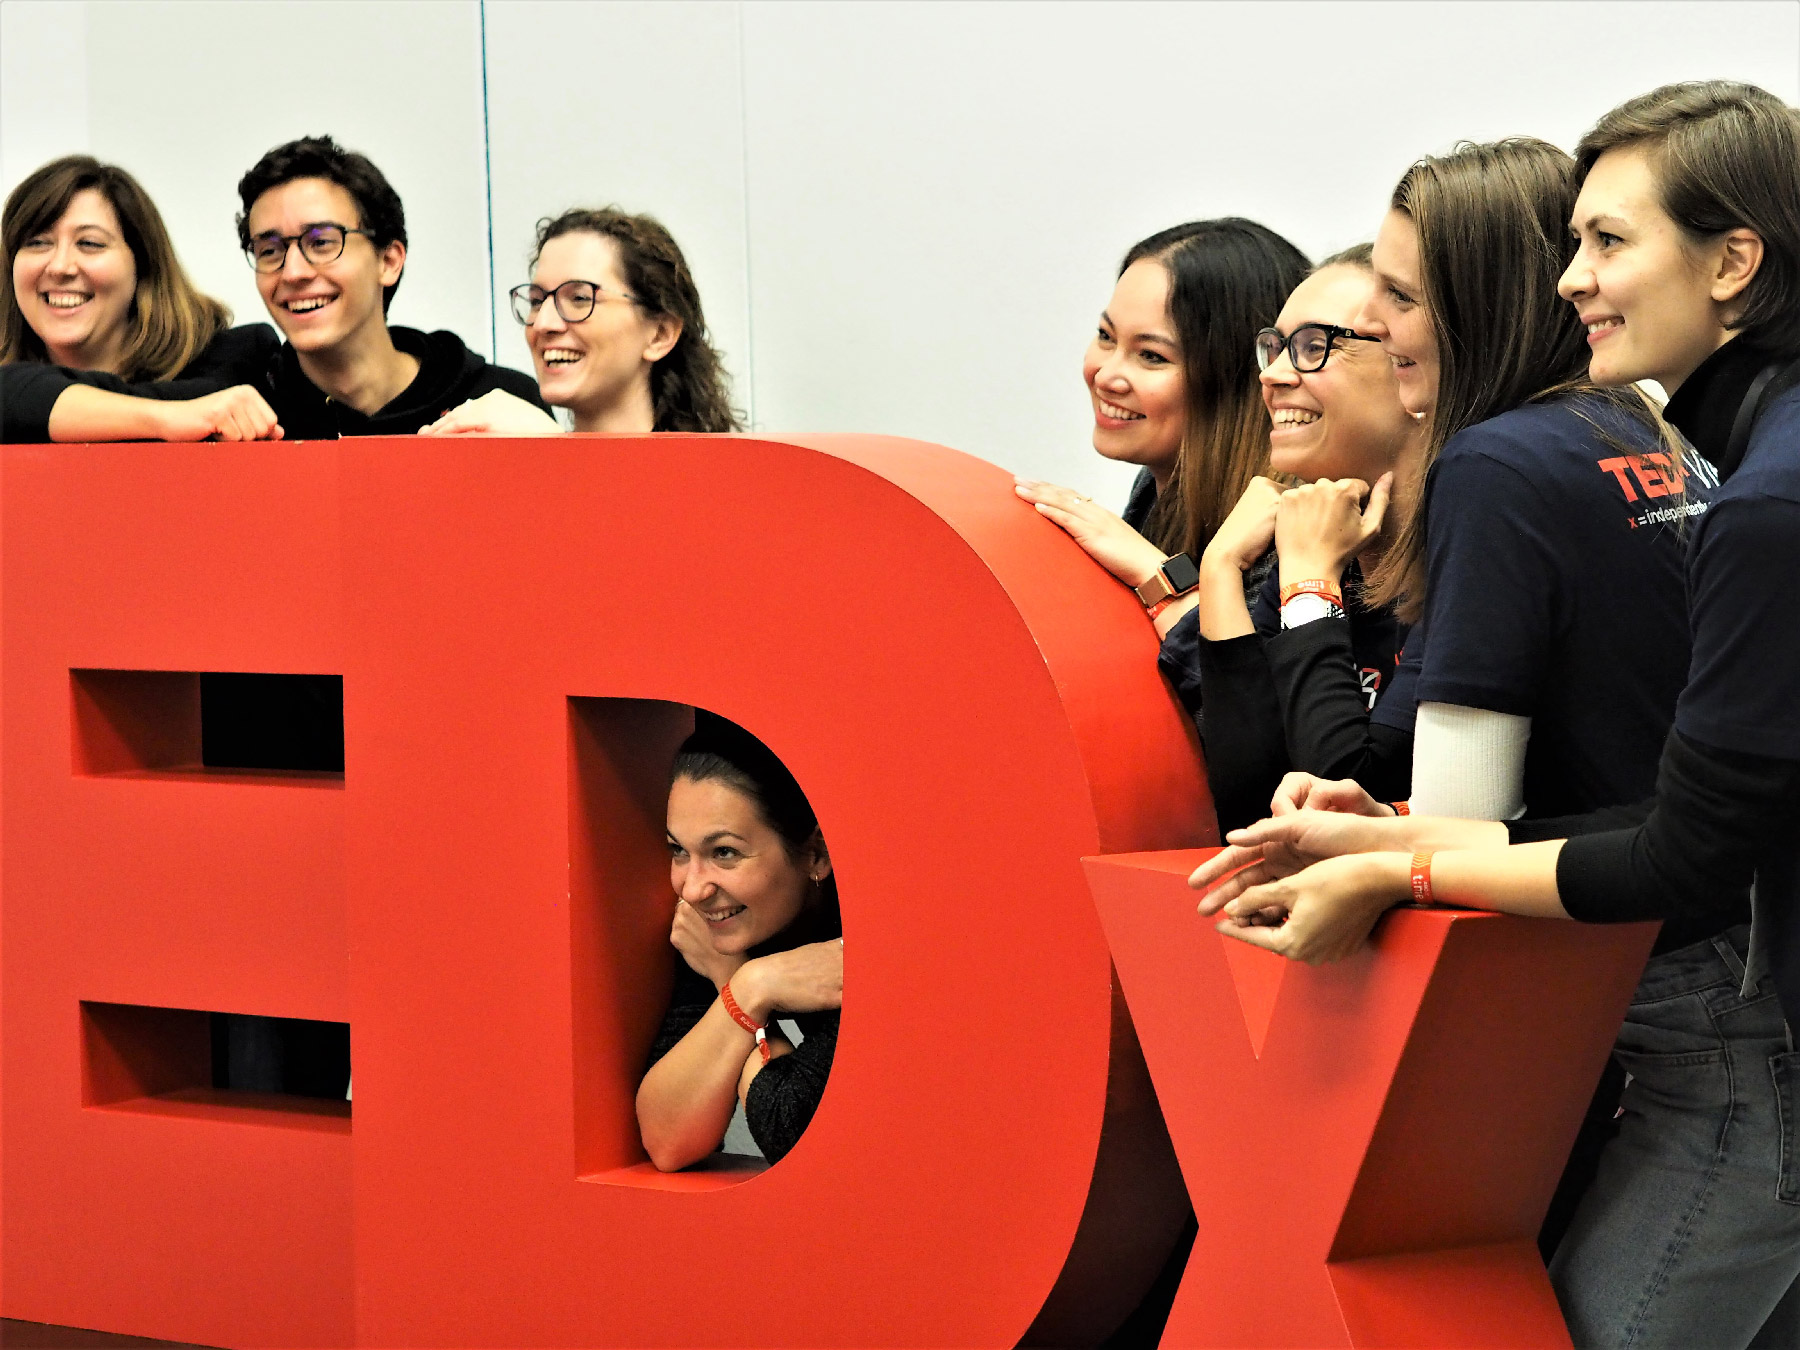
The previous sign was painted styrofoam, and was beginning to show signs of wear. We decided to go all in and get a lighted sign. Expensive, but worth it to ensure that the TEDxVienna’s brand was properly represented. It had to look great on stage and up close regardless if the lights are on or off, had to be gigantic so it would look good on the large stages we perform on, and it had to look great on film, since it’s a huge part of every one of the videos we make and share with the world for free.
So here we go. Hopefully this will help you on your journey to grow your TEDx event!
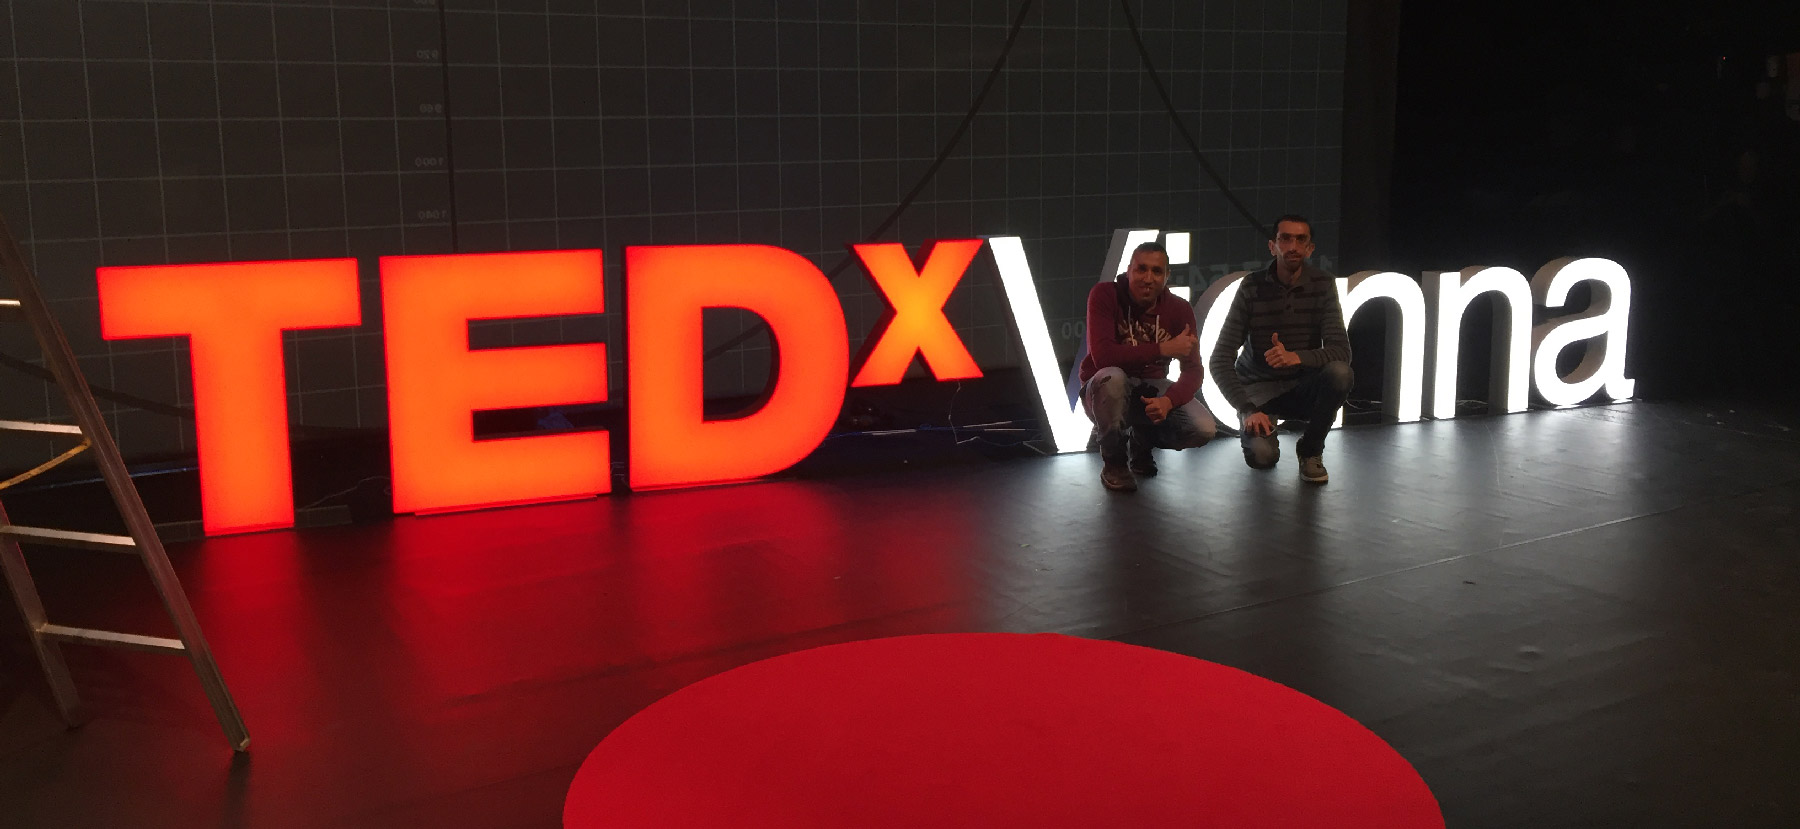
Make it Official
First, we made sure we had the right font and colors. Since I am a graphics professional for over 20 years this was no problem for me, but for people without that knowledge it can be hard to spot mistakes! During my research I’ve seen TEDx signs produced and used on stage with the wrong fonts, wrong sizes, wrong word positioning, wrong colors, and please, let’s talk about that “x” sitting on the floor. I was always unhappy to see that on our stage. Branding fails like these make events look unprofessional, and worst of all, it’s recorded and shared with the world forever!
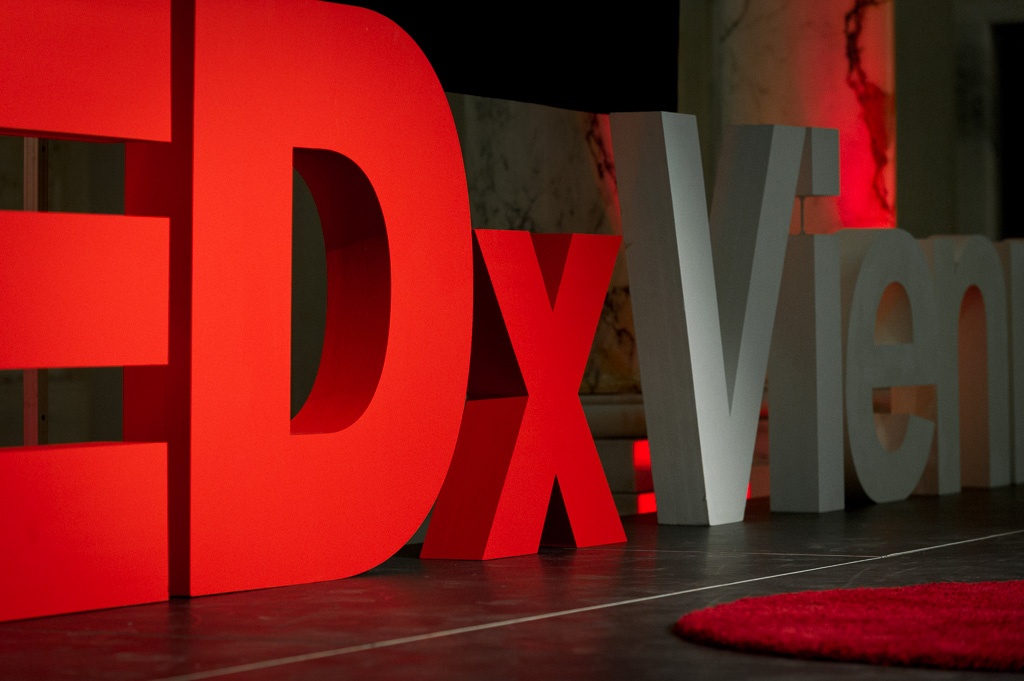
Bottom line: the video is your legacy, don’t mess it up with a bad sign! Get it right the first time, check these things twice:
- Fonts: Helvetica (Black for the TEDx, Regular for your name), and the font size of your event name should always be the same size as the TEDx font.
- Colors: Red and White letters work best on stage, black letters are harder to see on most backgrounds. Don’t forget to use the Official TED RED!
- Get that x off the floor, it looks so much better floating!
- Bottom line, make it look as much like your official logo as possible.
- Here is the official TEDx logo page for reference.
How big is too big?
Next we had to make our sign a size that wouldn’t look too small on the stages we normally used, but would also be relatively easy to transport and install. It had to be freestanding so it could be set up anywhere. We decided on at 8 meter letter span, which made each letter almost 1 meter tall. Your sign’s size should fit your needs and of course a lot depends on if you’re TEDxSF or TEDxQuinnitukqut.

- How big is the average stage you use? I think it looks best if the sign takes up 1/2 to 2/3 of the stage width, and if the sign is no higher than mid-torso on an average height person.
- Think about how you film the event. Will the sign be readable in the majority of camera angles?
- Think about your live audience. A giant, brightly lit sign may distract from the presentation or the speaker.
Let there be light?
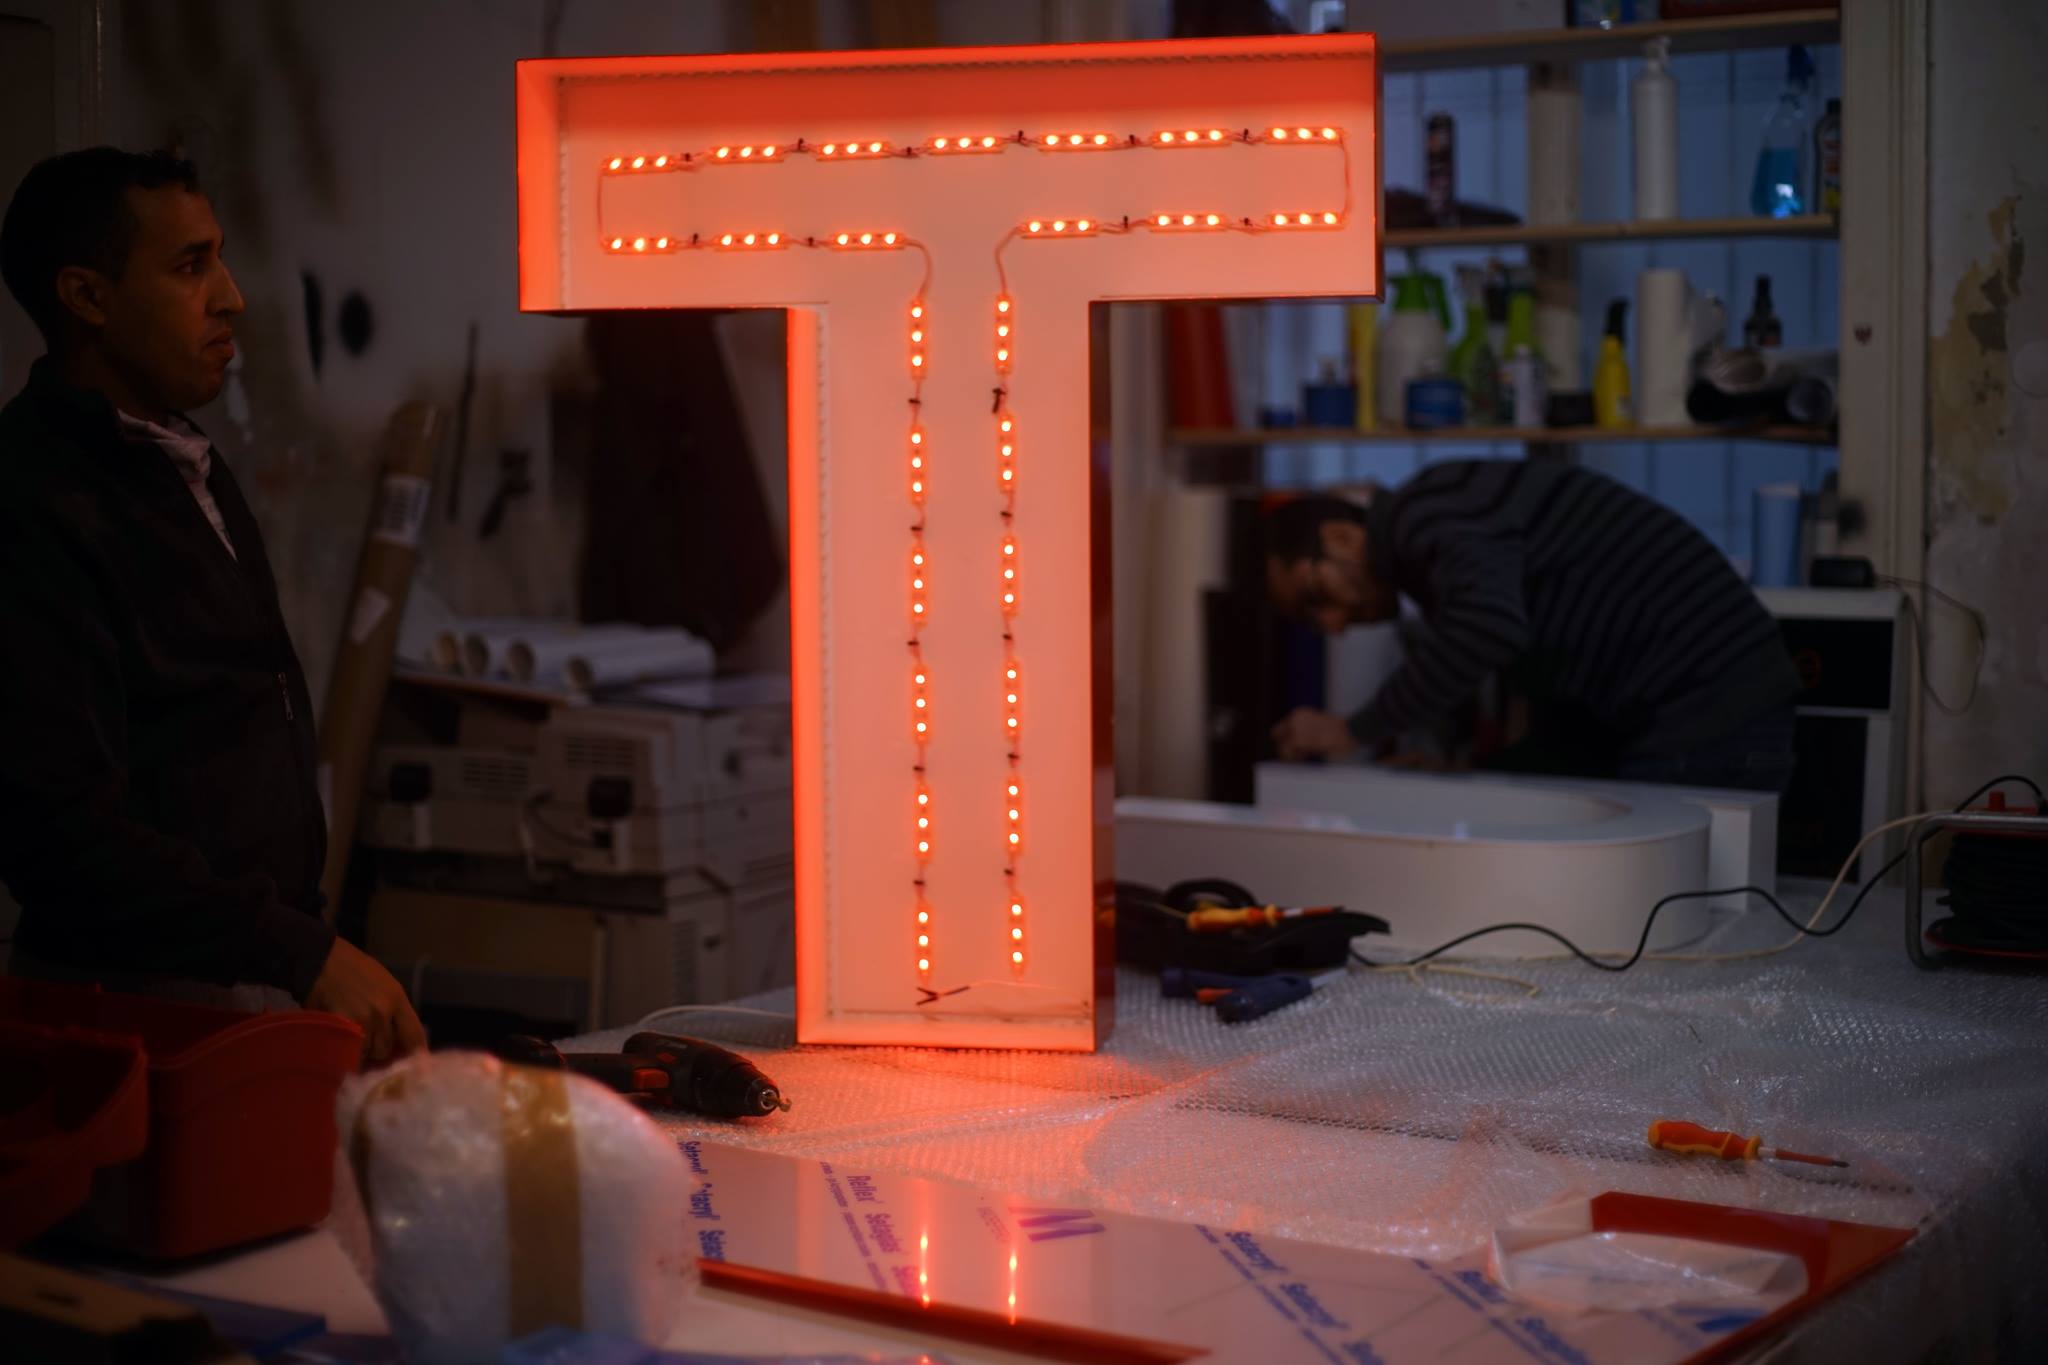
We decided on a lighted sign, and it was the biggest cost-differentiator in sign production. An LED sign can easily cost 4x as much as a good quality sign without lights.
Take a look at this video from our 2015 event with Kyle MacDonald compared to the 2019 video below with Wesley Larson. I think it’s clear to see the value of a lighted sign.
Whatever you decide, make sure you consider these things first:
LIGHTS
Benefits:
- Visibile and Professional. That sign POPS! On the youtube videos you can easily see the difference. Ours looks as good as the best TED signs I’ve seen.
- Colors. On a stage with colored lights, a non-lit sign takes on the colors around it. The TED RED is the first thing to look bad under a blue or green light. If the sign has it’s own light source, it will always appear red and white, as intended.
- Can be used with the lights on or off.
Drawbacks:
- Cables. Connecting them, finding a power source, taping down the loose cables so it’s not messy or dangerous, it’s just more setup work.
- Maintenance. Even LEDs burn out eventually.
NO LIGHTS
Benefits:
- Cost-effective. Less expensive to produce, and more options for materials.
- Easier setup, nothing to plug in.
- Usually made with lighter-weight materials.
Drawbacks:
- Doesn’t look nearly as nice as a lit sign. Less WOW factor for your audience.
- Overall visibility is reduced.
- Usually has to be lit with a separate stage light. Shadows can be an issue.
Stability and Sustainability
What to make your sign out of, and how to make it so it doesn’t fall over!
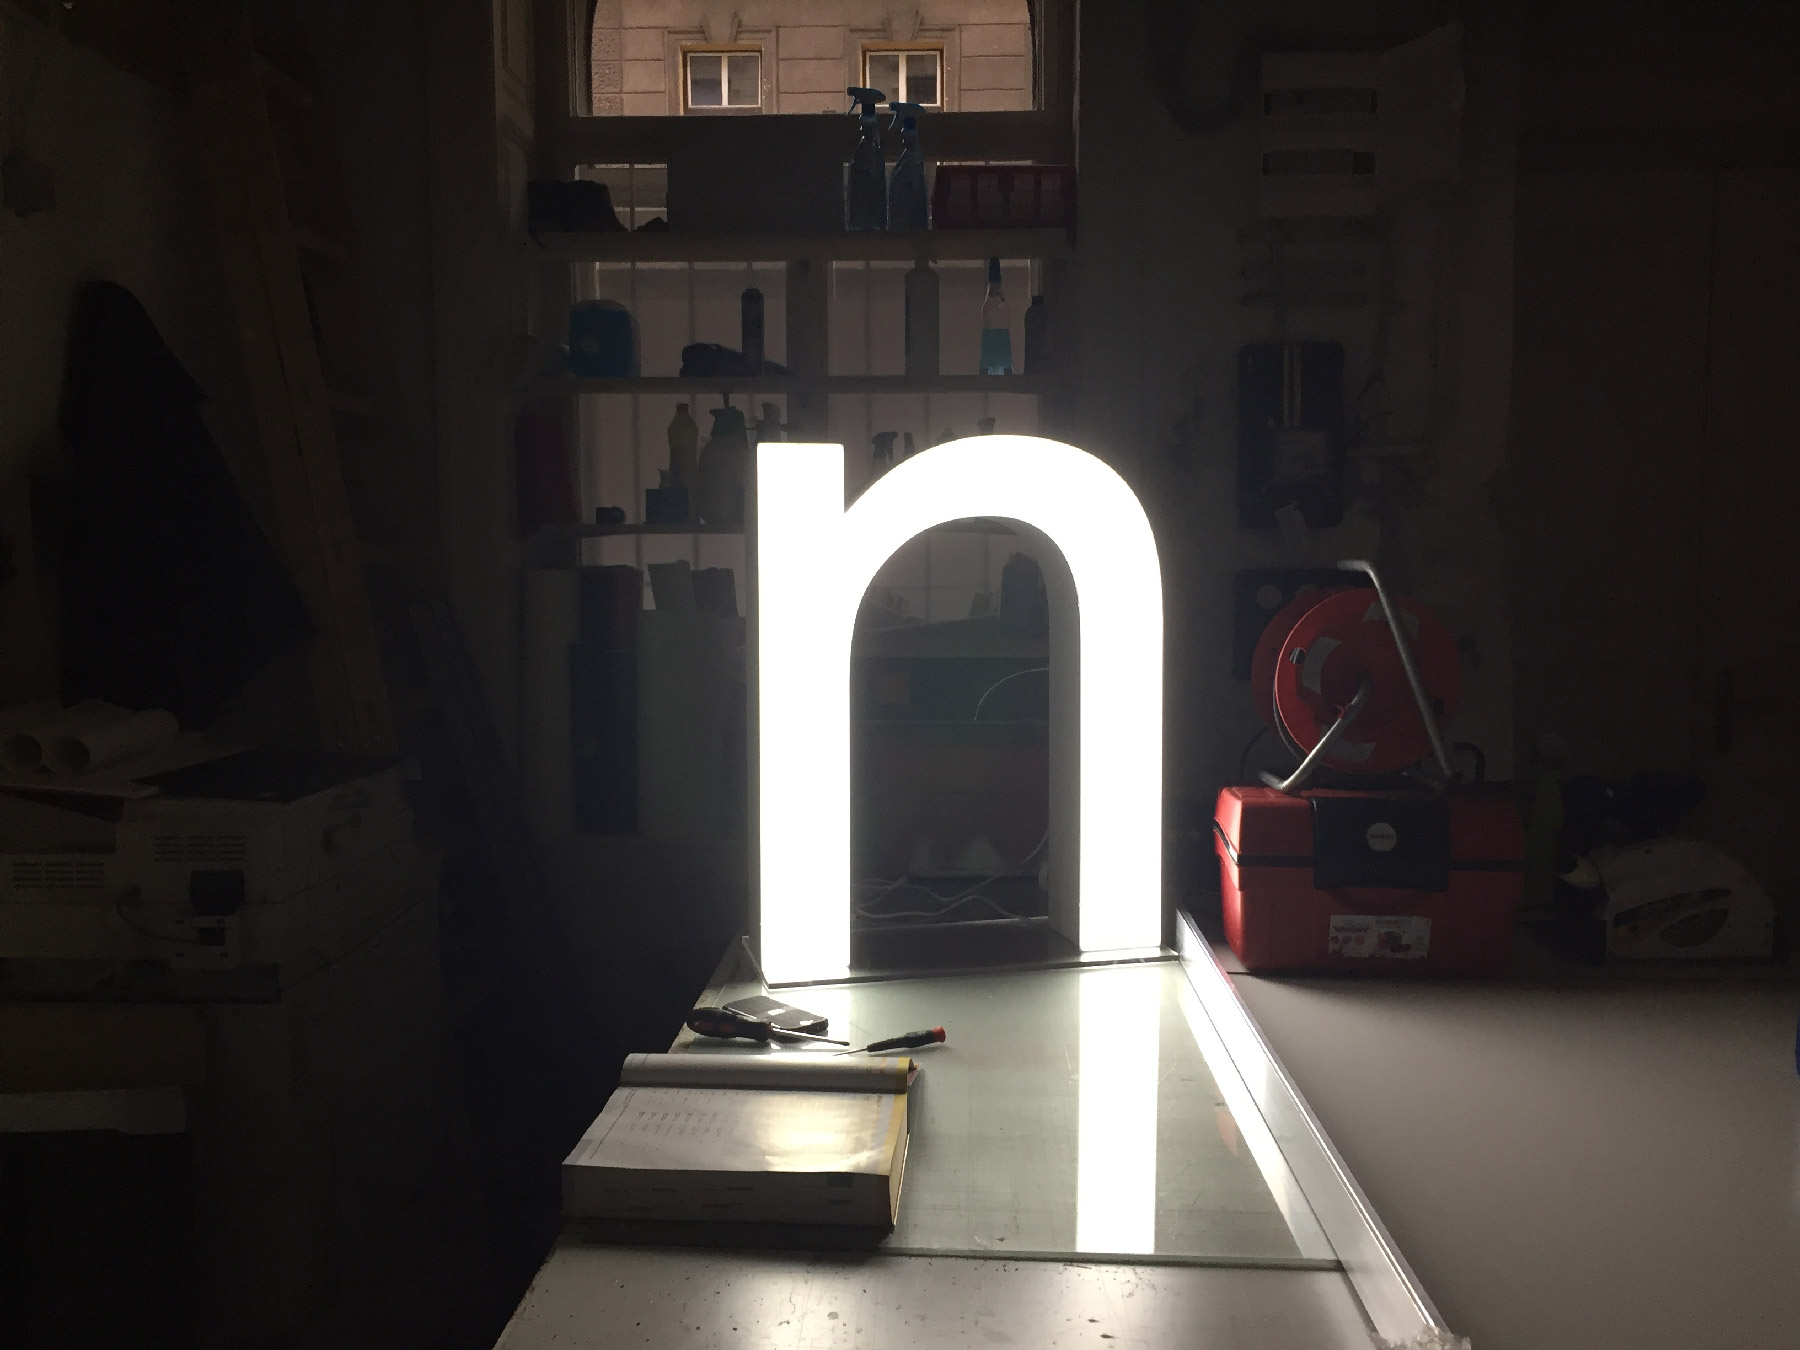
Most professional sign-makers will suggest a metal frame with colored plexiglass for a lit sign. An un-lit sign can be made of anything from plastic-coated cardboard core to various plexiglass, plastics and metal options. Important is that each letter or section of your sign should have a solid base that makes it hard to knock over. Removable, to make the letters easier to store.
We can talk all day about the harm plastics do to our planet, but we must also remember that the sign you’re making should be long-lasting and durable, and that other materials like metal require a lot of resources to refine and produce as well. Balance your decision with how long you intend it to last. A great solution is a laminated plastic face with a cardboard core, making the sign light, durable and color accurate. I’ve also seen signs mounted to a metal rack like the older advertising signs on rooftops, but that’s not the easiest to transport and set up. Wood is great, but tends to be expensive and heavier.
Some sign-making shops have access to industrial laser or water-jet cutters, others need to make forms to bend the sign materials into the needed shapes of your letters. Anyway you look at it, a substantial portion of your costs will be a “tooling” fee, which is the setup they need to do to accurately produce the sign. It never hurts to ask them to hold your tools, so if you need a second sign made, you do not need to pay that cost a second time.
Production methods
There are a lot of options as far as who to use, and of course they differ by region.
- Maker shops, a place in your town that offers 3D printing, laser cutting services and DIY services may be able to offer you a low cost and creative solution. A good option for smaller events that are not sure they want to invest in a sign that will last a decade. Try this google search: maker spaces near me
- Small sign shops are the best option in my opinion. The “mom’n’pop” shops tend to be more flexible and willing to talk with you about your needs. Try this google search: sign company near me
- For a top quality sign with the least amount of work, regardless of price, go to a large sign manufacture. Try this google search: Corporate and Office Building Signs
The TL:DR Checklist
- A sign can easily cost from $1500-5000, depending on how it’s made and how long you want it to last. Pick a price you’re willing to spend and speak with several providers to get the best price. You can usually negotiate the price somewhat.
- Fonts, colors, sizes, letter spacing and layout. Make sure your logo fits the official TED guidelines
- Need a vector TEDx logo produced? I can help, just get in touch: email ben
- In almost ALL cases, you’ll want the “TEDx” and the event name to be separate pieces. Great for flexibility and more ways to use the sign. Sometimes you may wish to display only the “TEDx” in a very small area.
- Choosing the right sign: lights or not, size of stage, ease of transport, setup and storage of finished sign. Always make it freestanding, so it can be installed anywhere!
- Modular construction depends on your specific logo. Make it so each piece can be carried by one person safely, but not so many pieces that it is hard to put together properly.
- Whatever solution you choose, make sure it will not require a lot of setup and teardown time. Focus on lightweight, durable, tool-free setup, and plug-and-play lighting if you choose lights (no exposed wire ends to connect, use standard plugs everywhere).
- Exposed plexiglass corners break easily. Styrofoam is easily damaged in general. Lightweight metals need internal structural support or they can warp and buckle. Make sure your sign can stand up to wear and tear.
- Ask about repairs in advance. What are the cost and speed of repairs in case of damage? Does the producer offer any guarantee?
- If your sign is painted, ask for cans of touch-up paint so you can fix any minor damage yourself.
- If you opt for a lit sign, make sure your sign provider offers maintenance for burnt out lights or wiring issues.
- If it can be touched by the public, it will be touched by the public. Make it tough!
Need help?
LUX medialab & design is happy to support ideas worth sharing.